Changing your front differential oil is important to keep your drivetrain smooth. Over time, the oil loses its critical properties that prevent metal on metal contact. This is a easy do-it-yourself as long as you have the proper tools and ability to get your vehicle off the ground safely. If you are unsure of how to do this procedure, please visit a certified mechanic.
For an overview of the procedure, check out the above DIY from the YouTube channel, Gregg Balser. While the video does not cover the Porsche Panamera, the steps to drain and fill the differential are the same. Check out the rest of the article for detailed steps, tools, and parts required. Big thanks to ciaka who has allowed us to use his images for this article.
- Mechanic’s Tool Set
- K Tool International Low Profile Jack (3.33 Ton)
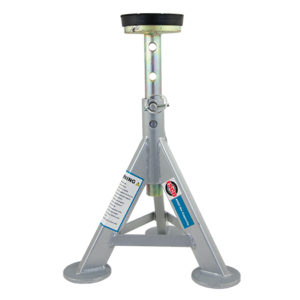
- ESCO 10499 Low Profile Flat Top Jack Stands (Pair) (4 required)
- Slotted Polyurethane Jack Pad
- Wheel Chocks
- 1/2-Inch Drive 19MM Non-Marring Lug Nut Socket
- Wheel Bolt Guide For Porsche, Audi, and VW (2 recommended)
- 1/2 Inch Drive Click Torque Wrench (25-250 ft.-lb.)
- Metric Hex Bit Socket Set, 3mm to 10mm
- 1/4 Inch Drive Click Torque Wrench (20-200 in.-lb.)
- 1/4 Inch Drive Extension Set
- Oil Drain Pan, 6 Quarts Capacity
- Fluid Transfer Pump For Quart Bottles
- Disposable Gloves
Oil inspection plug: 7.5 ft-lbs
Wheel bolts: 133 ft-lbs
Front differential oil capacity: 0.43 liters
Step 1: Prepare your vehicle and work area
- Starting with a cold engine, take your car for a quick 5 minute drive; this will warm up your drivetrain fluid and make the draining process easier.
- Put on eye protection and gloves.
- Park your car on a level surface.
- Gather parts and tools.
Step 2: Raise your vehicle off the ground
- To give yourself enough clearance to work, safely raise your vehicle using a lift or jack and jack stands.
- NEVER rely on a jack to keep your car up; use jack stands to safely support your vehicle.
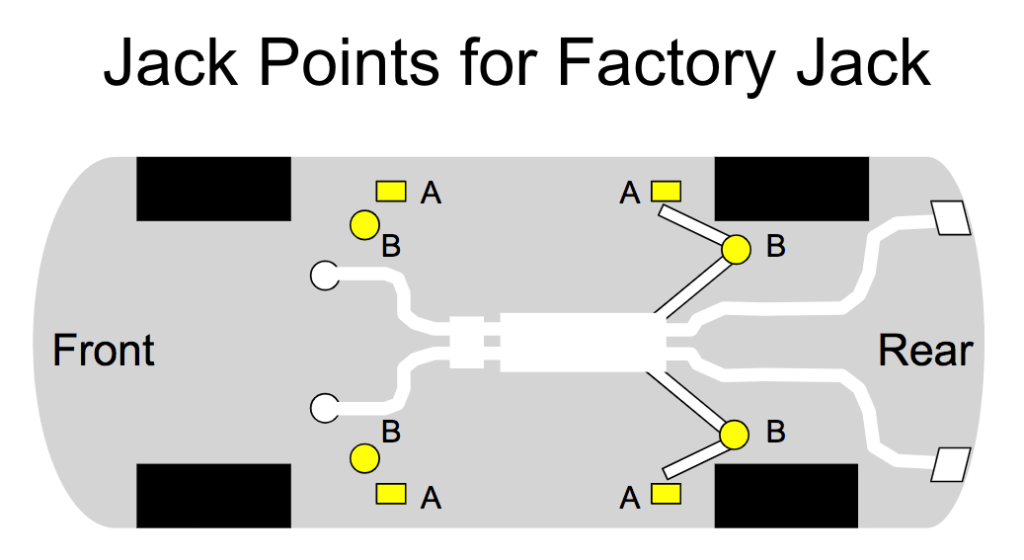
- To raise your vehicle on jack stands, as shown in the picture, lift each corner with a JACK using LIFTING POINT A; then and place the JACK STAND on LIFTING POINT B.
- While raising your vehicle on jack stands, be sure to use wheel chocks to prevent your car from rolling.
- Once your car is on jack stands, give your car a hard shove to make sure it is secure.
- ENSURE YOUR CAR IS LEVEL! This is essential to ensure the correct fluid level.
- Note: If your car has air suspension, disable the leveling system by starting the vehicle and holding the “high level” control for 10 seconds; an indicator will appear in the gauge cluster letting you know the leveling system has been disabled. Failure to disable auto-leveling can result in suspension damage.
Step 3: Remove the front right-hand side wheel
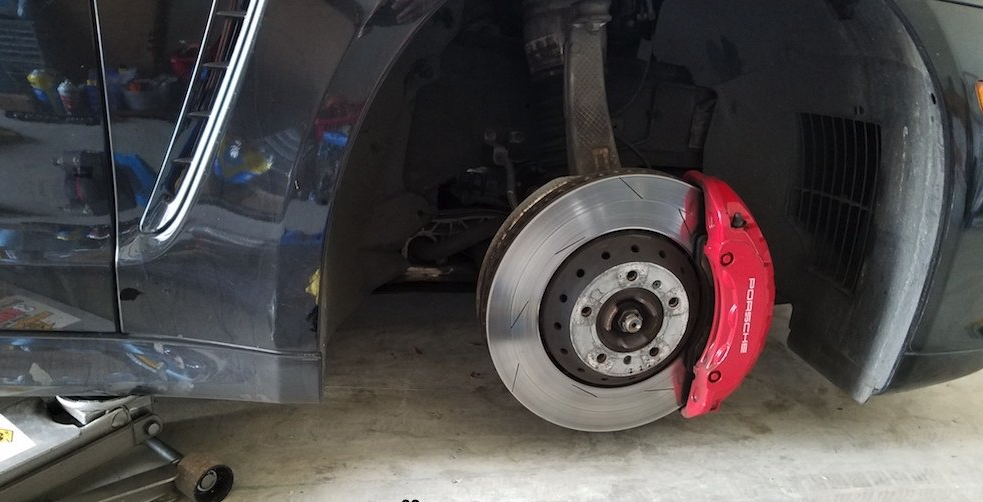
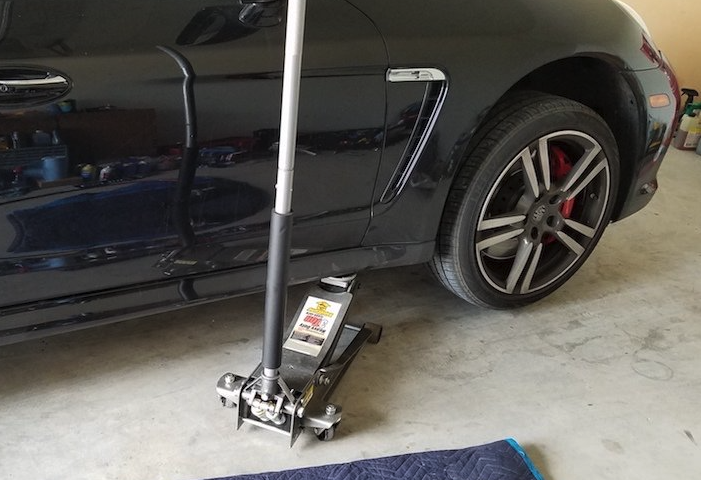
- Remove the front right-hand side wheel using a 19mm socket and breaker bar.
- Place two wheel guide bolts to help you remove the wheel; this will also help when you reinstall the wheel.
Step 4: Remove the front differential fill plug
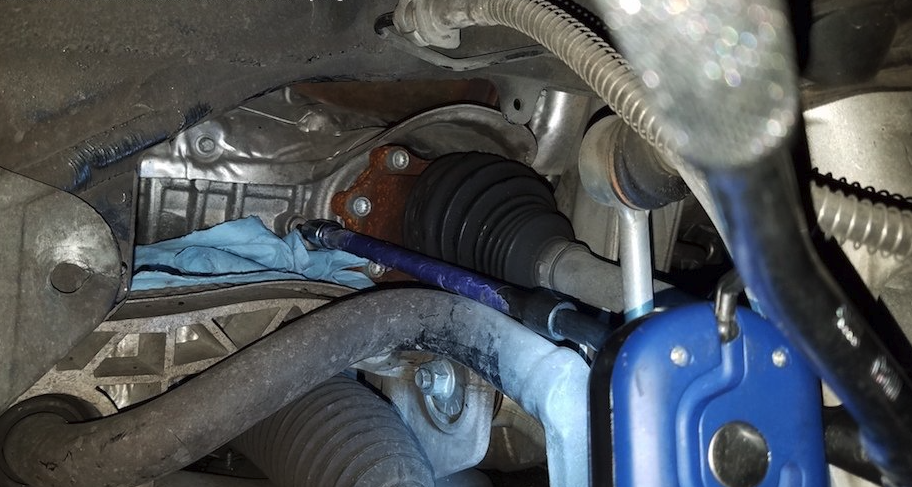
- As shown in the picture, locate the oil fill plug on the right-hand side side front differential.
- Use a ratchet, appropriate extension, and a 5 mm hex socket to break loose and remove the plug.
Step 5: Extract the original differential fluid
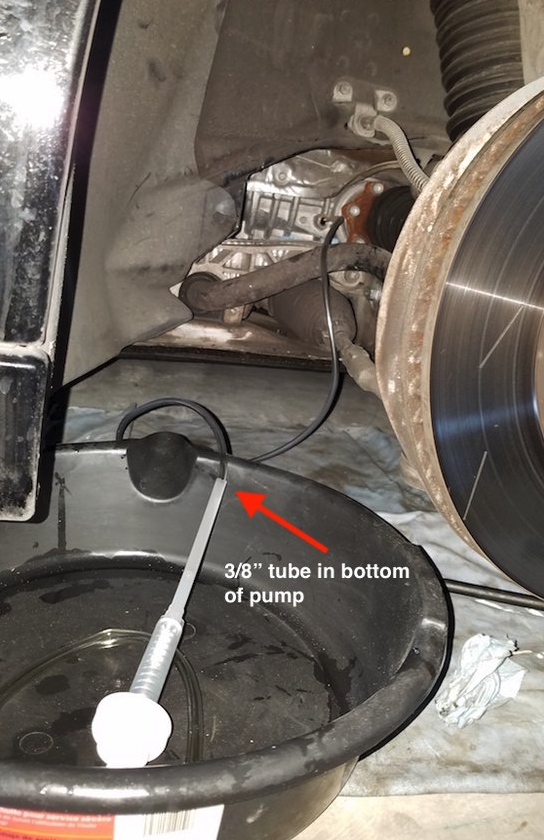
- As shown in the picture, use a fluid transfer pump to remove the old differential fluid.
- Insert the long piece of hose included in the fluid transfer pump kit into the differential fill port and connect the other end to the inlet side of the pump.
- Place the outlet part of the pump over a drain pan and pump as much fluid out as you can; you may need to move the hose around to extract as much fluid as possible.
- Once you can no longer extract anymore fluid, remove the pump hose and use a paper towel to clean up any spillage.
Step 6: Fill in the front differential with new fluid
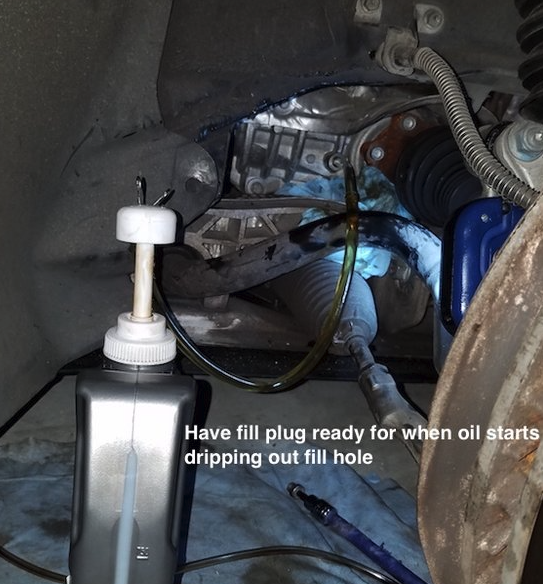
- Screw the fluid pump onto your bottle of new fluid; be sure to use a hose long enough on the pump to reach the bottom of the fluid container.
- Using the longer piece of hose, connect one end the outlet side of the pump and insert the other end into the differential fill port.
- While the front differential’s oil capacity is 0.43 liters you may not have extracted all of the old fluid.
- With your car level, pump in new fluid until it begins to drip out of the inspection hole.
- Once fluid drips out of the inspection hole, you’ve reached the correct oil level.
- Install a new fill plug and torque it to 7.5 ft-lbs using a torque wrench.
Step 7: Reinstall everthing
- Reinstall the wheel and tighten wheel bolts to 133 ft-lbs with a torque wrench; be sure to tighten the wheel bolts in a criss-cross pattern to make sure the wheel is evenly seated.
- Lower the vehicle back down.
- Clean up your work area.
- Take the old fluid to your local auto parts store to recycle.
