The engine air filter plays a vital role in protecting your engine as it stops various debris particles from entering and causing damage. As debris adds up with every mile traveled, the air filter will reach its maximum dirt absorption capacity at some point. When this happens, the air flow resistance rises and affects the engine’s performance. So, it is important to replace the air filter at your vehicle’s specified maintenance interval. However, you may need to change your air filter sooner depending on your driving conditions.
While changing the engine air filters on your Porsche Panamera requires you to remove the bumper and tail lights, it’s still very easy and a great way to save money doing it yourself. To get an overview of the procedure, check out this video from the YouTube channel, Useful Vids. Detailed step-by-step instructions, along with the parts and tools you’ll need, can be found below.
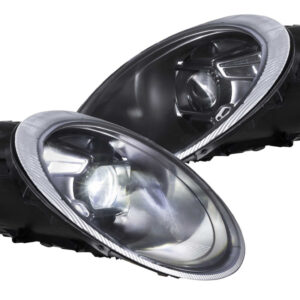
Step 1: Remove front headlights
- As shown in this video, start by grabbing the headlight removal tool in the tool kit located in the trunk.
- Open the hood and locate the release axle at the back of the headlight.
- Using the headlight removal tool, rotate the release axle counter-clockwise until the headlight is free.
- Carefully pull out the headlight to gain access to wire connector and vent hose at the back side.
- Disconnect the wiring connector and pull off the vent hose.
- Repeat the procedure on another headlight.
Step 2: Remove the front bumper
- To gain access to the air filter, you will need to remove the front bumper cover as shown in this video.
- Unclip all plastic tabs that hold the upper plastic cover in place. You can do this by carefully pulling upwards or using a suitable plastic pry tool.
- Move the upper plastic cover out of the way.
- Using a T30 torx socket and a ratchet, remove four screws at the top of the bumper
- On each side of the bumper, remove two T30 torx screws within each wheel arch and one that is hidden behind the wheel arch liner
- Remove another four T25 torx screws on the bottom of the bumper
- Locate a plastic clip at the inner side of the bumper, near the headlight. Slide the clip out and free up the bumper.
- Pull the bumper off, using extreme care not to damage the paint.It may take some wiggling until it is free.
Step 3: Replace the air filter
- The air intake hoses that connect the air filter housing to the engine intake are held in place by four screw-clamps. Loosen them using a 7mm socket and a ratchet.
- Maneuver both air intake hoses out of the way.
- Locate four T30 torx bolts that hold the air box in place. Using a socket and ratchet, remove these bolts.
- Maneuver out the air filter housing. There are air ducts at each side, so you may need to separate them with a pry tool.
- Depending on the trim level, there can be a garage door sensor at the back side of the air filter housing, which you need to disconnect.
- Using a Phillips screwdriver, remove eight screws that hold two pieces of the air filter housing together. Open up the housing.
- Fit the new filters and make sure to seat the filter edges correctly on the air intake housing.
