Mercedes Oil Change Quick Answers
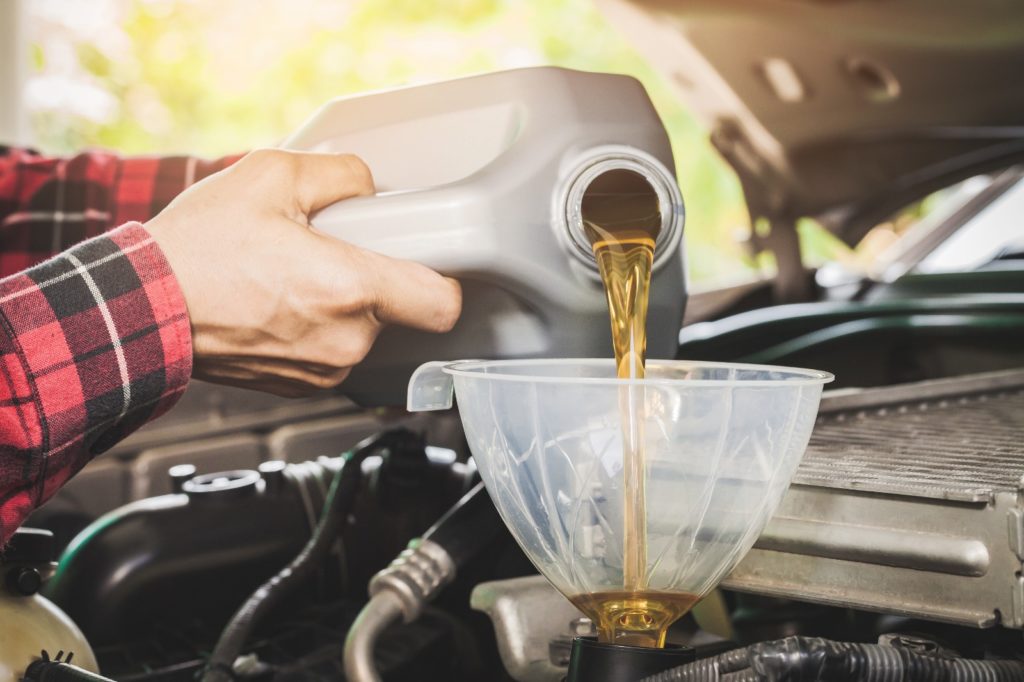
Mercedes brand offers a wide range of models in their catalog, and depending on the one you own, an oil change could cost you on average around $120 to $160 at an independent mechanic or $160 to $220 at a dealership. However, we have a cheaper way to offer you the do-it-yourself (DIY) method, which should cost you around $80 and less than an hour if you follow our instructions below.
According to Mercedes-Benz, their engines need an oil change every 10,000 miles or a year, whichever comes first. But, we recommend you change it sooner than that. We will explain the various reasons for that below in this article.
If you want to save money on your repairs and maintenance, you will need a reliable mechanic who is also honest and not greedy. Visit one of our recommended independent mechanics near you, and you can make sure you’re going to get an excellent service for a reasonable price.

https://elements.envato.com/close-up-of-mechanic-adding-oil-with-a-funnel-SWVLW4X
Why Does a Mercedes Oil Change Cost This Much?
If you drive and enjoy a Mercedes, you should already know that maintaining it will not be cheap. The price structure is pretty much the same for every kind of mechanic. They usually add the price of the parts needed, labor, and taxes to come up with the number. So let’s break down these costs and explain them.
Parts Required
A new oil filter, oil filter sealing ring, a new drain plug seal, and synthetic engine oil are all the parts you will need to replace your oil. For Mercedes, these parts can cost you between $60 to $100, depending on the model. The most expensive item on the list will undoubtedly be the oil itself because Mercedes engines only use synthetic oil, and it will certainly be more costly than mineral oil. Keep on reading to find out why there is a price difference in oil types and why it is necessary for your car.
Buying the necessary parts online for much cheaper is a good idea, but you should always check with your mechanic beforehand because most of them won’t accept outside spare parts. They usually would want to charge you the full price even though they are getting them for a lot cheaper. If you ever see a sign offering you a $19.99 oil change, drive to another mechanic because they won’t use the quality parts your Mercedes needs.
| Part | Mercedes Mechanic Costs | Do-It-Yourself Costs |
| Synthetic oil (6 to 10 quarts) | $48 to $80 (@ $8 per quart) | $36 to $60 (@ $6 per quart) |
| Oil filter & sealing ring | $30 | $20 |
| Drain plug seal | $4 | $2 |
| Parts Total | $82 to $114 | $58 to $82 |
Labor Cost
The oil and filter replacement procedure takes around 15 minutes to 30 minutes with special equipment. Mechanics usually charge you an hour of labor for it because of the high labor rate. Expect to pay around $80 to $120 in labor, depending on your choice of mechanic. Negotiate and try to get the best deal, or better yet, do it yourself with the help of this article.
Taxes & Other Fees
Depending on your state, 10-15% tax will be added to your parts and labor cost. There is just no legal way of getting around it. Some shops may also add a disposal charge on your bill for your old oil.
When Should You Change Your Mercedes’s Engine Oil & Filter?
An engine provides an efficient drive with the synchronous operation of multiple components. For all parts to work smoothly, a material that facilitates friction always is needed. Engine oil, which forms a slippery layer between the engine parts, prevents wear during friction. It offers a more comfortable working principle, but it does have a short lifespan, and neglecting replacement will create significant problems for your engine.
Mercedes’ recommended oil and filter replacement interval is 10,000 miles or a year, whichever comes first. However, we at eCarGuides, prefer to change it every 5,000 miles. Trust us; if you take our recommendation into account, you can ensure that your vehicle’s engine performs better, consumes less fuel, and has a longer engine life.
You should also know that some usage habits may also require the engine oil to be changed ahead of time. For example, the constant stop-start traffic or driving on dusty roads means you will need engine oil changes at shorter intermissions. Similarly, problems in the engine oil filter may cause the oil not to be filtered well and cause it to become particulate over time. For this reason, the engine oil filter should be changed during the engine oil change.
Which Engine Oil Should be Used on Your Mercedes
Choosing the right oil for your car can seem like a daunting task. While there’s a ton of information about the various oil options, the first step is honestly pretty straightforward: Check your car’s manual and engine bay or ask your authorized dealer. Mercedes engines use synthetic oil only, and you can never use any mineral oil on your engine.
In a regular Mercedes oil change, your most significant expense in parts will be the oil itself because the oils produced for high-tech engines or heavy-duty use should always use synthetic additives. The labels of these oils indicate whether they have passed rigorous specialized testing for superior, long-lasting performance in all critical areas, from viscosity index to protection against deposits. As a result, they flow better at low temperatures and retain the highest viscosity at high temperatures.
We highly recommend you to use Mobil 1 European Car Full Synthetic Motor Oil 0W-40. You are driving a European car, so you will need an oil made special for your vehicle. We trust this one because it is also the factory fill for most European brands. Mercedes also approves Valvoline and Castrol branded oils.
 |
What is the Difference Between Synthetic Oil and Mineral Oil?
Mineral oil is mined from the earth – it’s just refined crude oil. On the other hand, synthetic oil is created in a laboratory. This is the main difference, and it changes everything!
In synthetic oil production, the oil is not only refined but also subjected to a distillation process and then refined into essential molecules. Then the base oil is made from these molecules and improved with the help of additives. The final product will have exceptional operational properties: reliably protect from wear, exposure to extreme temperatures, and the formation of sludge deposits. This process allows not only to remove more impurities from crude oil but also to process each oil molecule according to the needs of a modern internal combustion engine. Such “processed” molecules provide higher levels of protection and efficiency and help the engine run longer without any problems.

Can You Change Your Mercedes’ Oil Yourself?
The short answer is, yes, you can. It is not hard to replace your oil, and you won’t need any professional tools. It would be best to be very careful and take all the safety precautions your owner’s manual suggests.
Here’s the list of items you will need to perform an oil change.
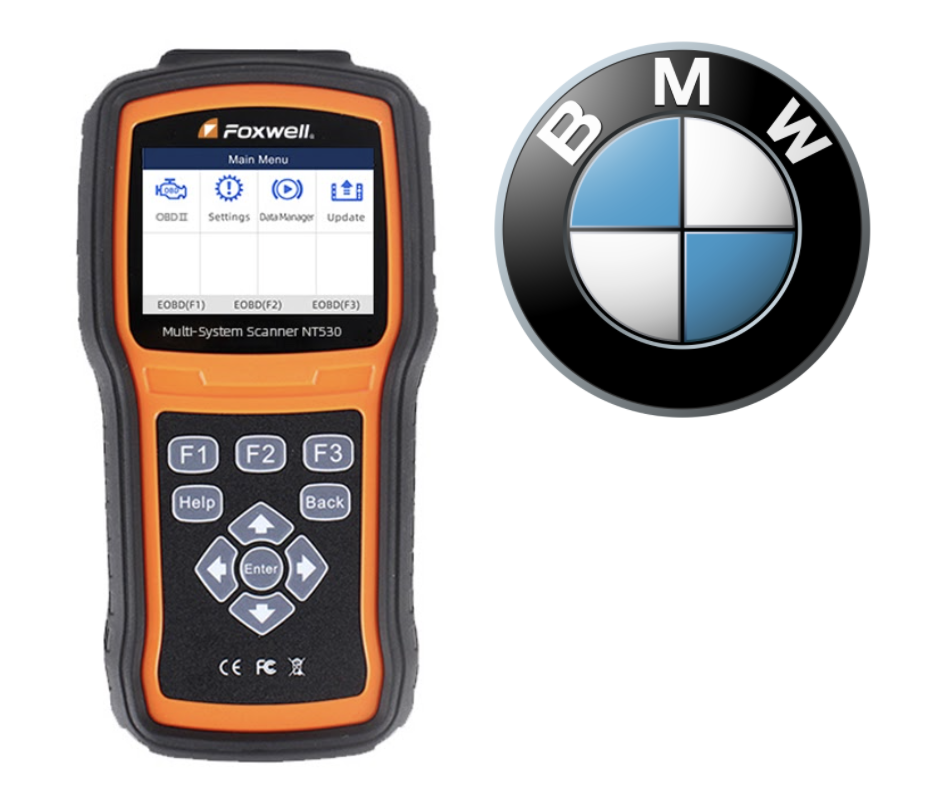
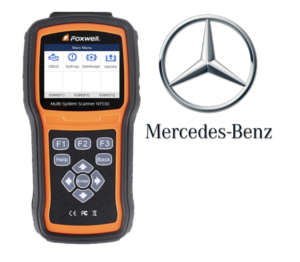
- Foxwell NT530 Diagnostic Scanner (to reset Mercedes oil indicator light)
- Mechanic’s Tool Set
- Oil Filter Socket
- Hex Bit Socket for Drain Plug
- Torque Wrench
- Low Profile Oil Drain Pans, Pair – 6 Quarts Capacity Each
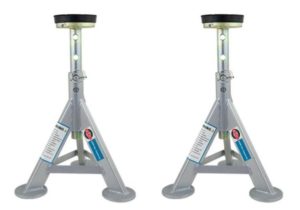
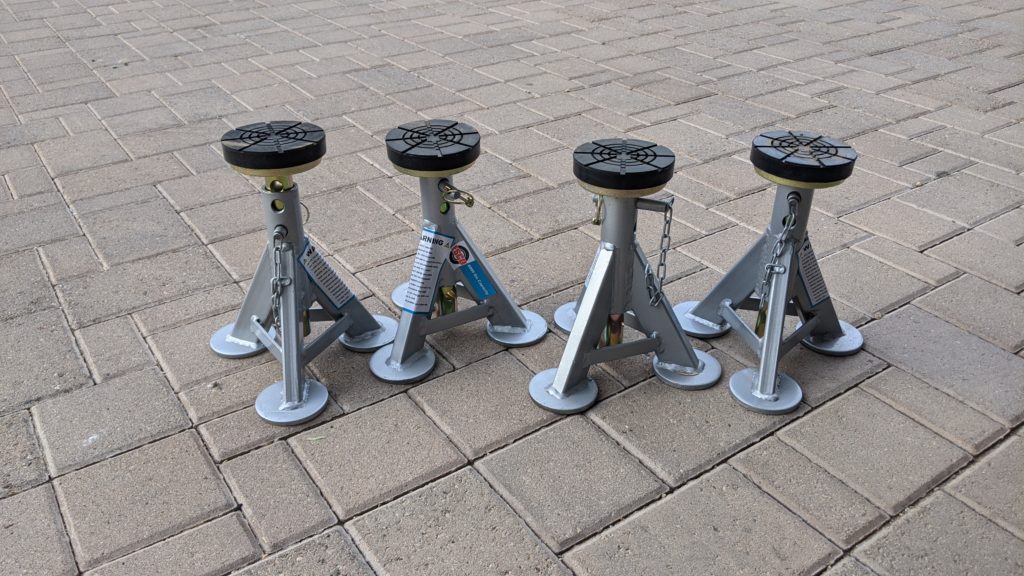
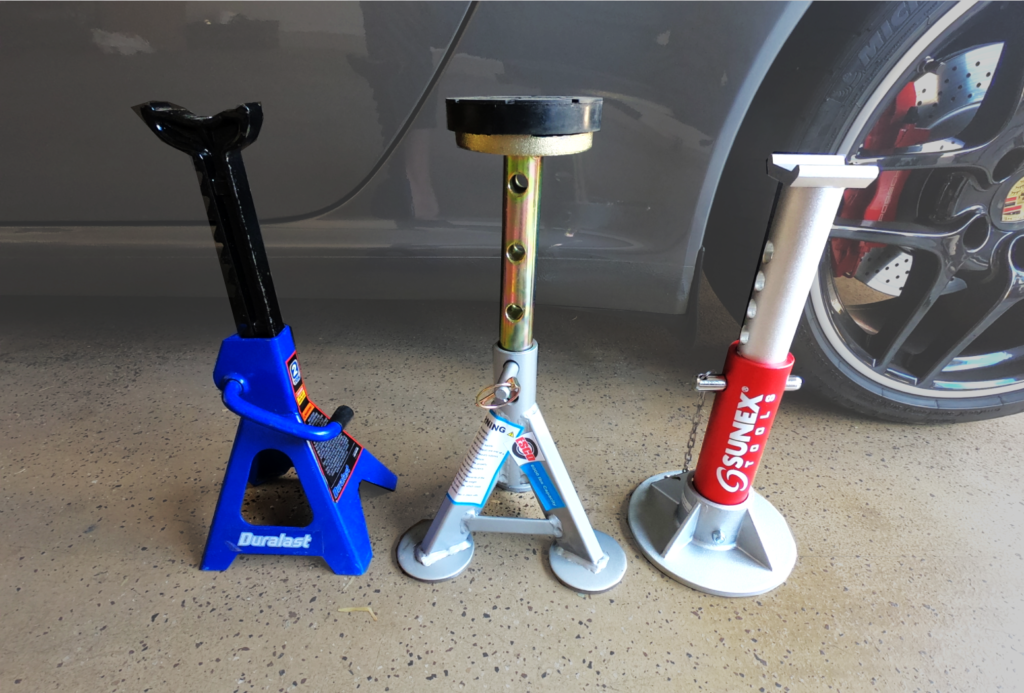
- Jack Stands
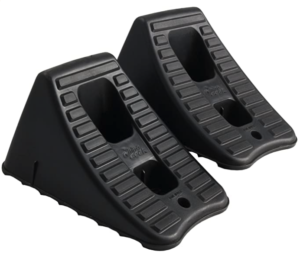
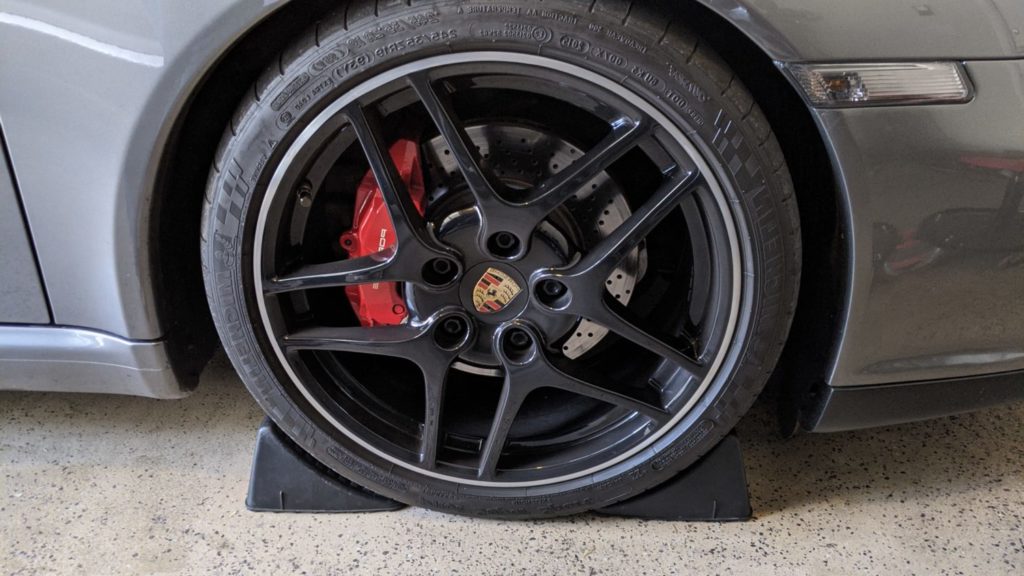
- Wheel Chocks
- Long Neck Fluid Funnel
- Disposable Gloves
https://pixabay.com/tr/photos/mercedes-araba-oto-lüks-araç-1229234/
Getting Started
Before starting the engine oil change process, prepare the tools listed above. Then, run the vehicle’s engine for 5 to 10 minutes. This action allows the engine to warm up and the oil to flow more easily.
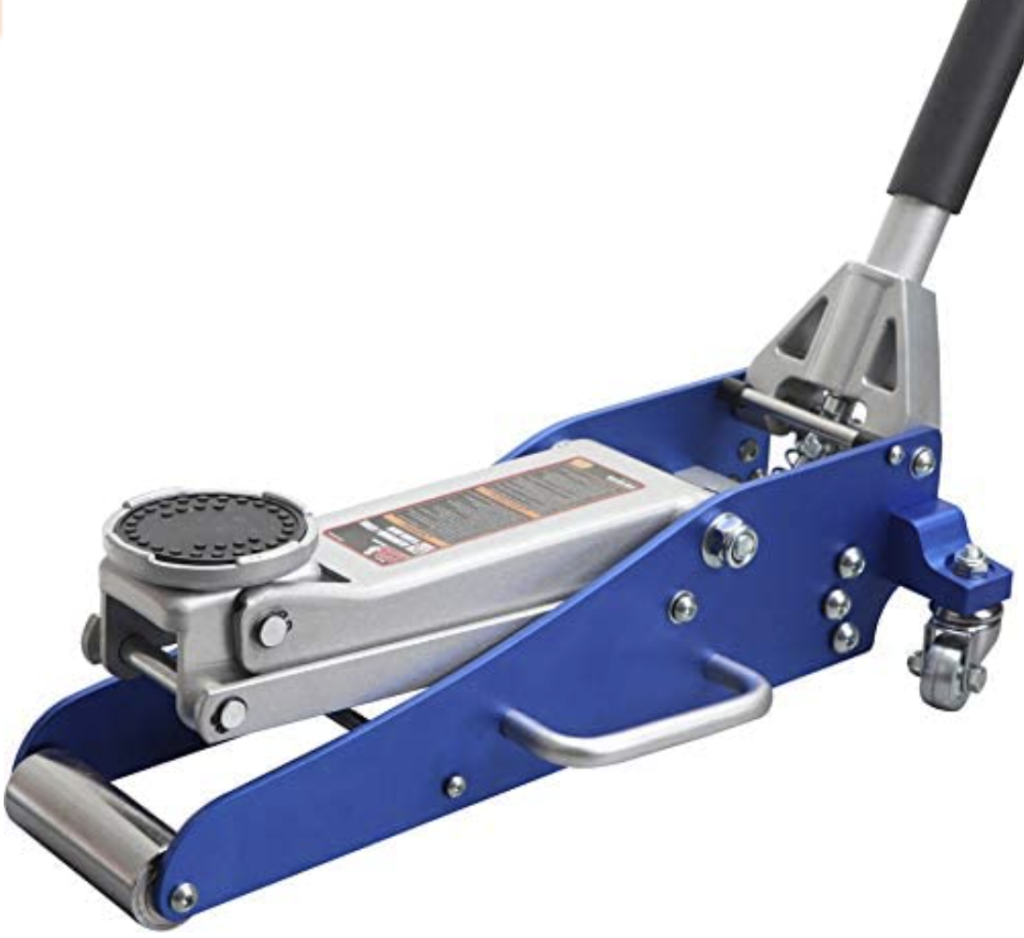
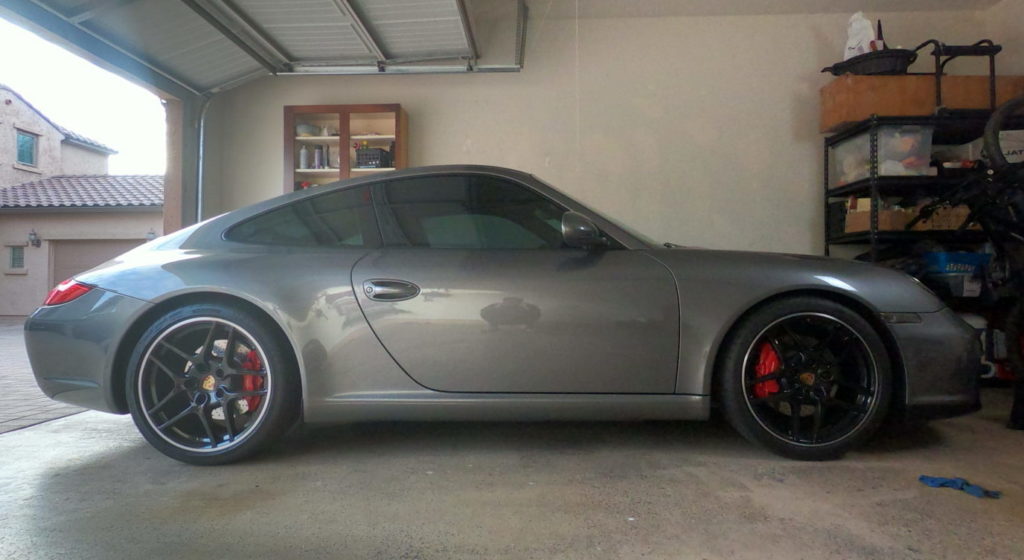
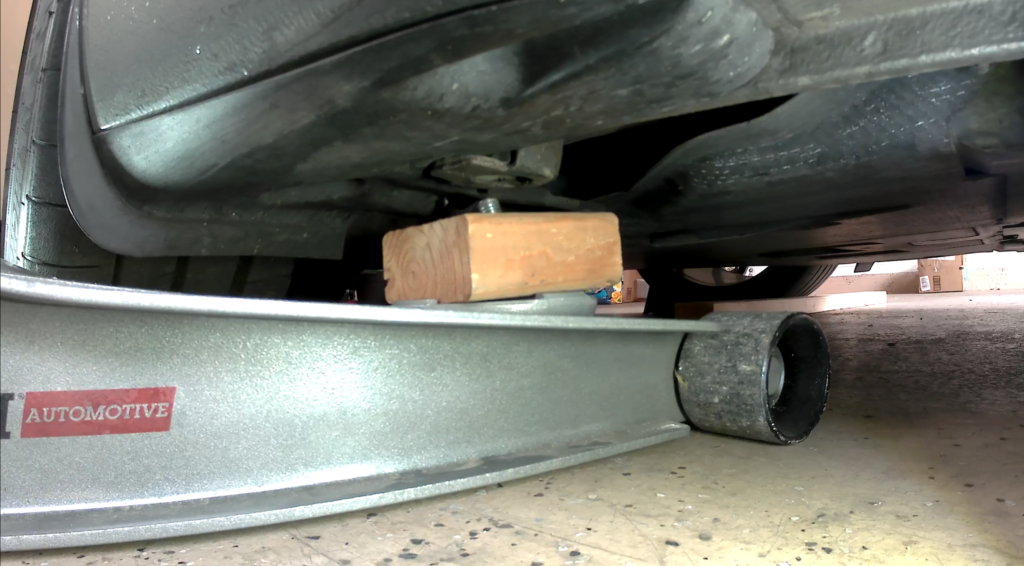
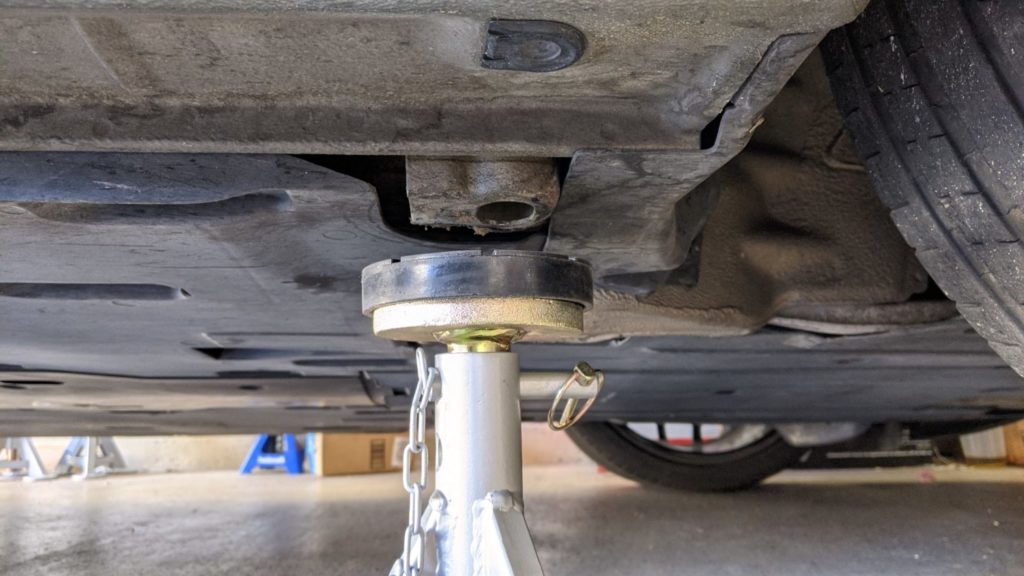
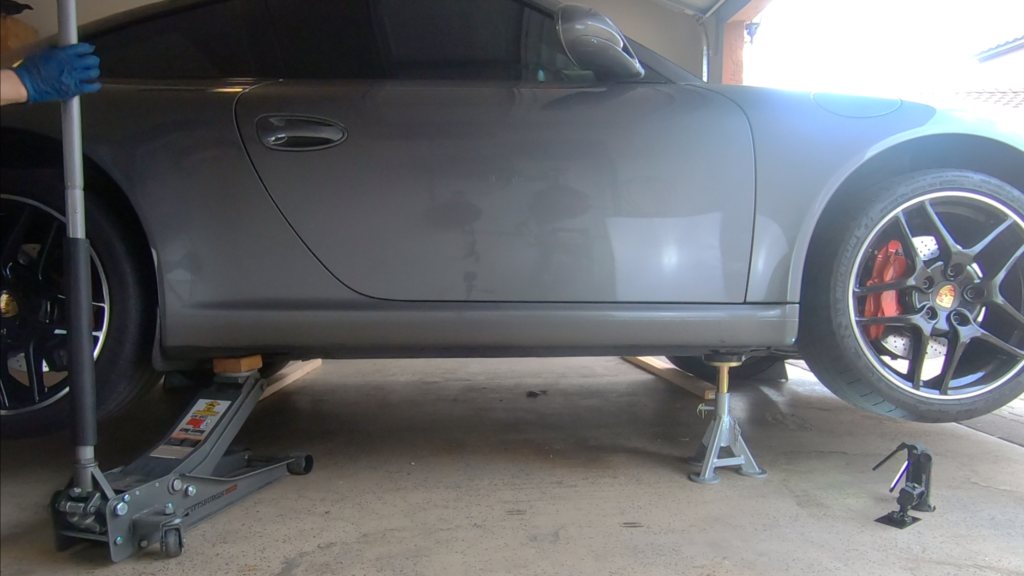
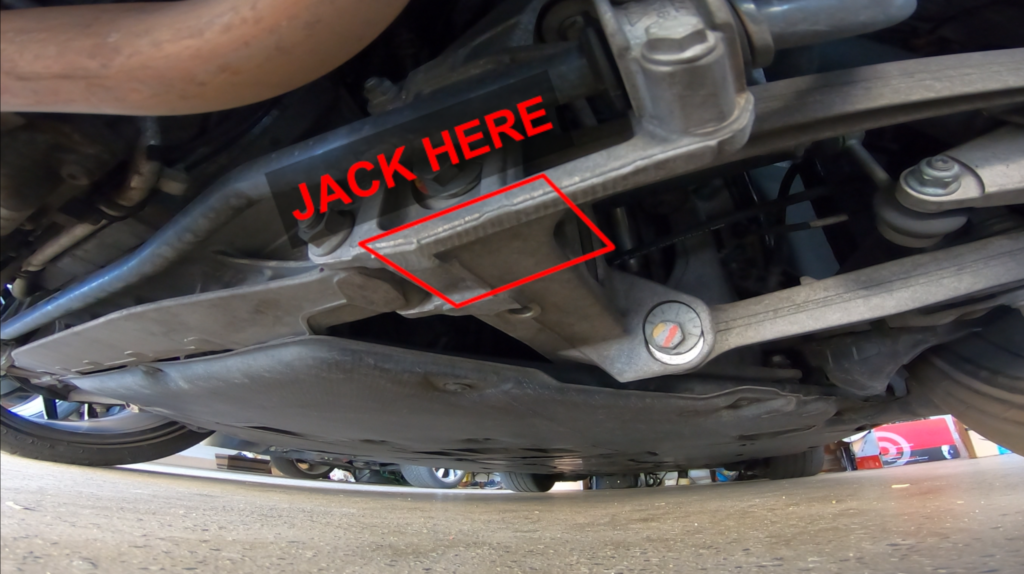
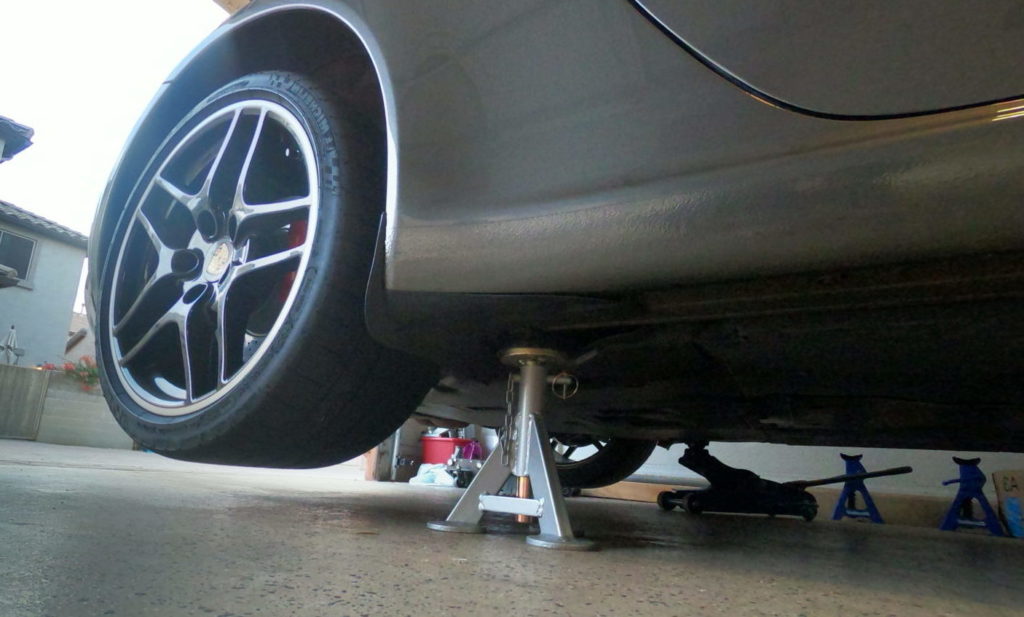
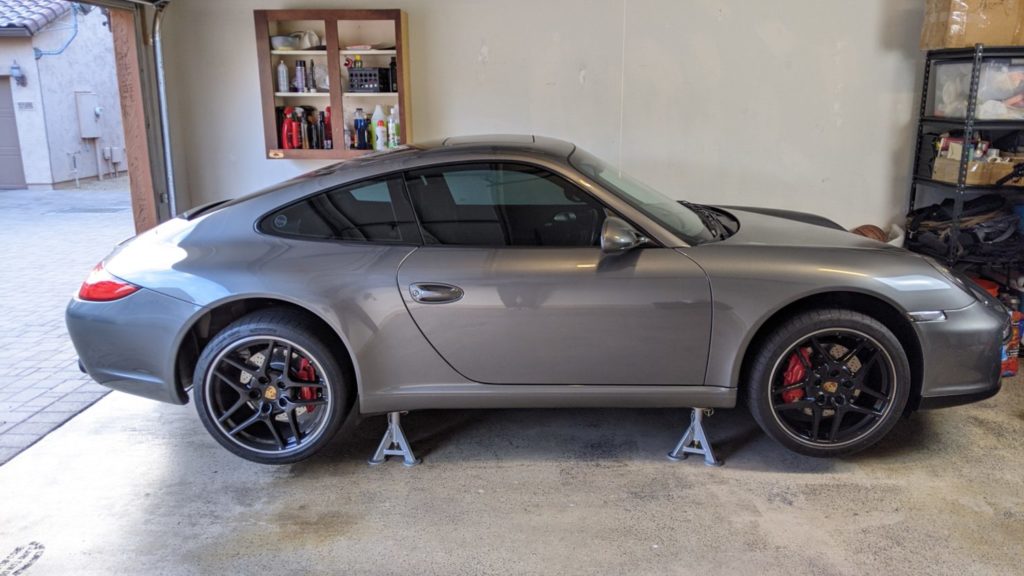
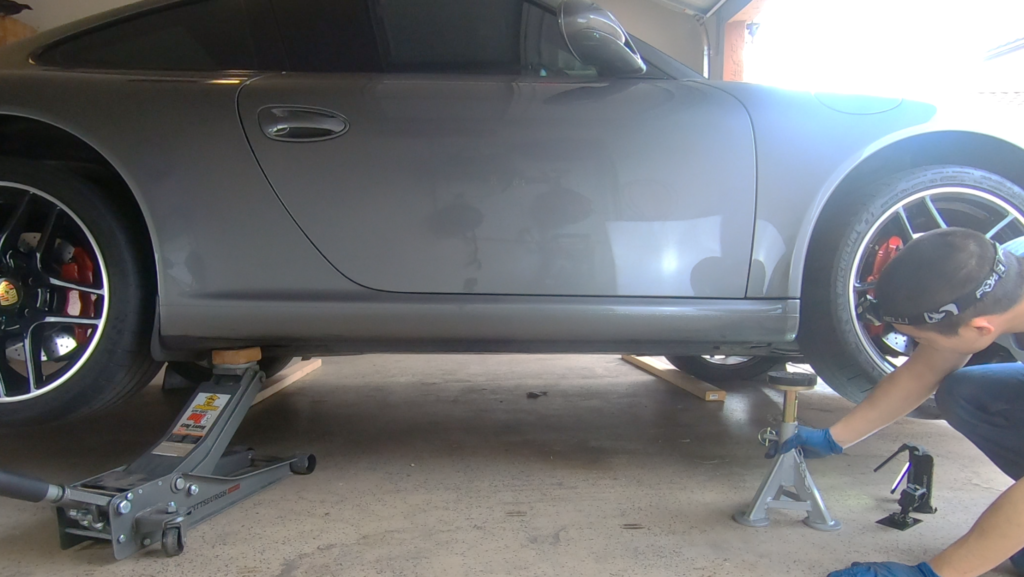
Lift your vehicle with the help of a jack and place it on your jack stands. This point is crucial, and it will be dangerous to get under a car supported by a jack. Before getting under your vehicle, check the stability of the floor and jack stands.
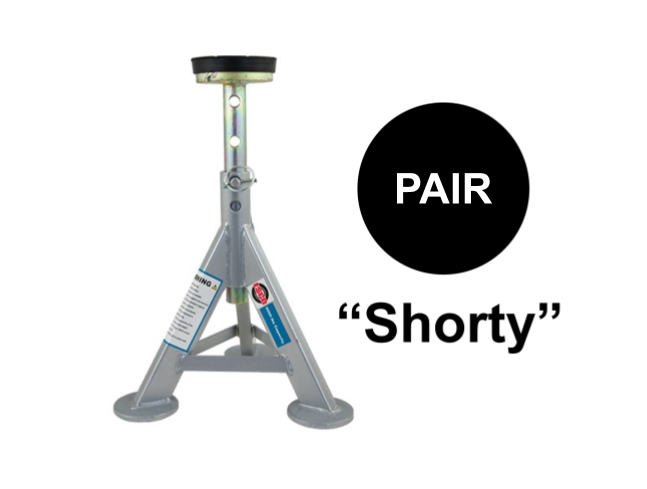
Purchase the ESCO Jack Stands on here on eCarGuides – FREE SHIPPING
Beware of the risk of burns; because even if the engine is not running, the oil inside and the exhaust may still be hot! Try not to touch them, and you can use gloves against the risk of burning.
Draining the Old Oil
Loosen the oil reservoir cap on your engine under the hood. Next, get under the vehicle and remove the plastic cover protecting the oil pan. The oil drain plug is located under the oil pan.
Put the draining pan under the plug and loosen it with the appropriate hex bit socket wrench. The oil will begin to flow. Remove the plug and the gasket together so that it does not fall into the pan. Wait for the old oil to drain well! While you wait, move on to change the oil filter.
Replacing the Oil Filter
Loosen the oil filter slowly with the appropriate socket and remove it by hand. Make sure to remove the gasket together with the filter. Apply some new oil to the sealing ring of the new oil filter with your finger to prevent leakage during use and be easily disassembled at the following change. Tighten the new oil filter first by hand, then with the appropriate wrench. It should twist on easily when it is positioned correctly. Check your manual and torque it to spec.
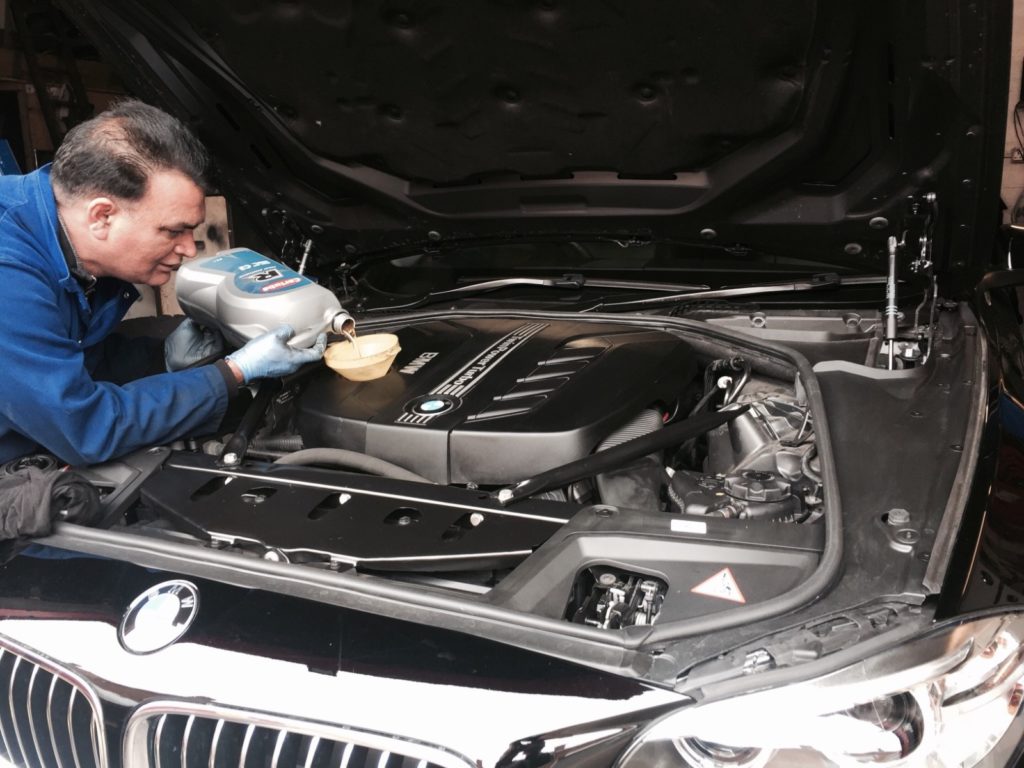
Filling the New Oil
Get under your vehicle again and install the oil draining plug into the slot using a new plug washer. You can use your hands to position it correctly, but afterward, you should use the hex bit socket again to torque it to spec. Next, install the crankcase protection sheet of your vehicle. Lower your car safely by jacking it up a bit and removing the jack stands from under your car.
Slowly fill in new engine oil through the oil cap on the engine using a funnel. You can check how much you have filled using the engine oil dipstick. Tighten the engine oil cap firmly and start your engine to warm up the new engine oil. Don’t overfill the oil to avoid damaging the seals! After running the engine for a while, check the dipstick and add oil if necessary.
Dispose the Old Oil
Now you can use your Foxwell NT530 Diagnostic Scanner (for Mercedes) and reset your engine oil light. You can also reset this light by using your car’s dashboard computer menu if you haven’t passed the service time limit.
Disposing of the Old Oil
It is strictly forbidden to dump waste oils on the ground (just like used tires) or into the sewer due to the excessive damage to the environment! However, you can contact repair shops or environmental agencies, and they will help you dispose of it correctly.

Summary
Our recommended oil&filter change intermission for Mercedes is every 5k miles or one year, whichever comes first. It will cost you on average around $120 to $160 at an independent mechanic or $160 to $220 at a dealership. If you are willing to do it yourself, it’s going to cost you around $80.
Here at eCarGuides, we care about your car’s wellbeing, and we always aim to help you get the best service possible for a reasonable price. So find a highly-rated mechanic near you, and also don’t for to check out our detailed DIY guides.